Step-By-Step USCIS FOIA Request
Before You Start:
Use this step-by-step guide to request records from US Citizenship and Immigration Services.
- To submit this request, you need to complete two steps: first, create an account (or use the community organization account) and second, fill out the request.
- If you are creating your own account start with Step 1. If you are using an existing account at the community organization, start with Step 2 as you will still have to enter a verification code before beginning the FOIA request.
- If you create your own account, you will need to do that first and wait for the account confirmation email before going to the website to make your request. This can take about an hour.
- Once you get to the actual records request, that will take one hour.
- Knowing what records you are requesting can make the process go faster. If you have a copy of an application or receipt, uploading a PDF of those kinds of documents can make finding your remaining documents faster. Even if you don’t know what documents you have or what documents you need, you can still submit a general request to locate your records following the steps below.
- If you have an upcoming date to go to Immigration Court, you can ask for records faster. You will need to know the upcoming court date.
If you are a community organization helping someone submit a FOIA Request with USCIS, you can either set up an account for each individual or set up an organizational account to use for each person. If you set up an individual account, keep in mind that it could take some time for them to get the email confirming set up. You may want to set up a separate time to submit the FOIA request in that case. It generally takes several months to receive a response from USCIS so this process can take time. But do not be discouraged! The steps you are taking to locate your records is critical for your case.
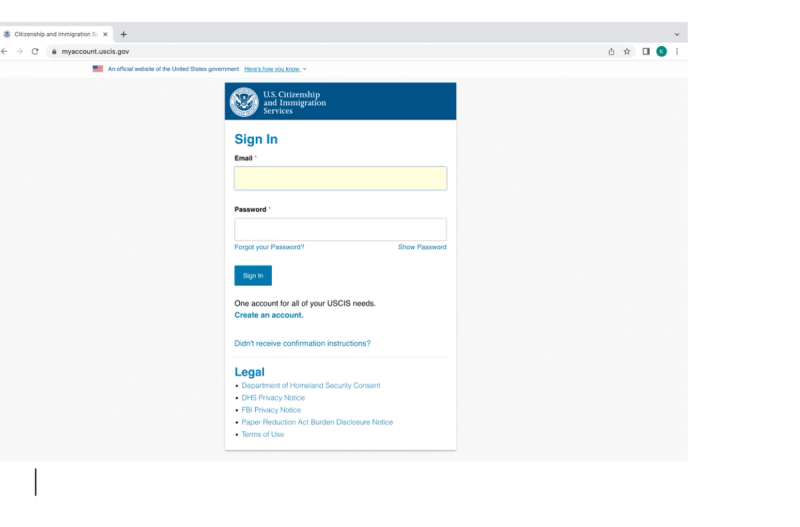
- If you are creating your own account, go to this link. Use an email you regularly check. Create a password and then write it down! You will need the password to get your records. If you are working with a community organization, skip this step and go to Step 2.

- Go to this link and log in to your USCIS account.
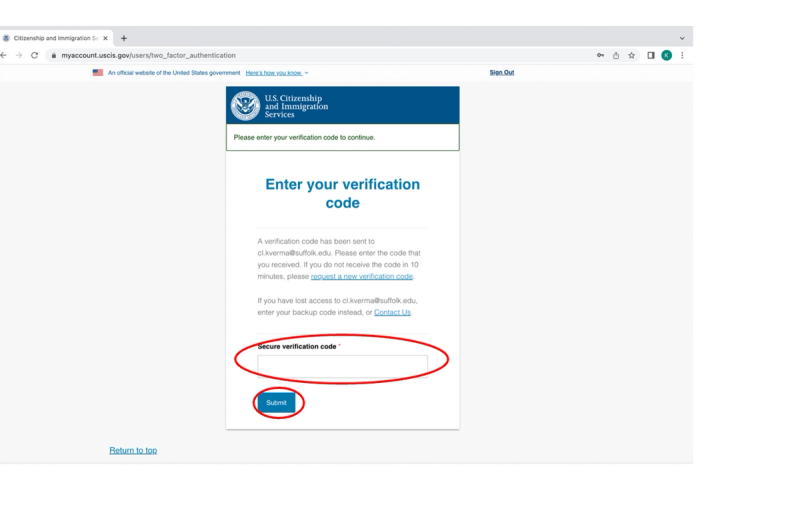
- You will be prompted to enter a verification code. If you created your own account, you will receive this code through the email or phone number you provided. Make sure to select text or email for a phone number or email address that you have access to. If you are using the community organization account, this will be the phone number or email address of the community organization. Enter that verification code in the box and click Submit.
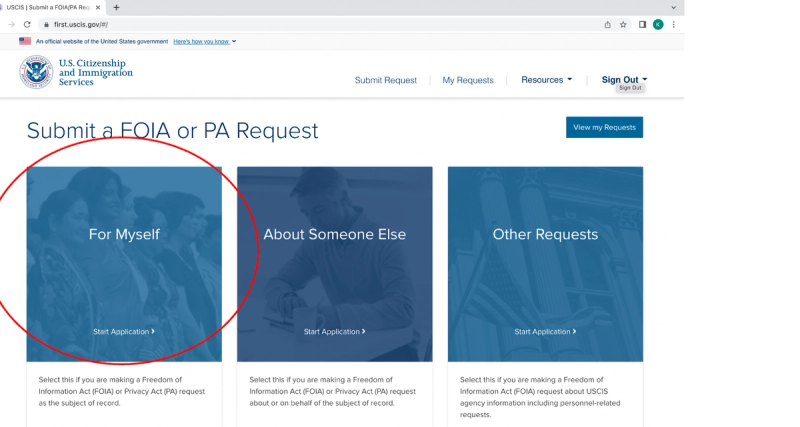
- Go to this link, then select For Myself. If you are a community organization requesting on behalf of a client whom you are helping to submit this request, you should still select For Myself if the person is submitting this request is with you.
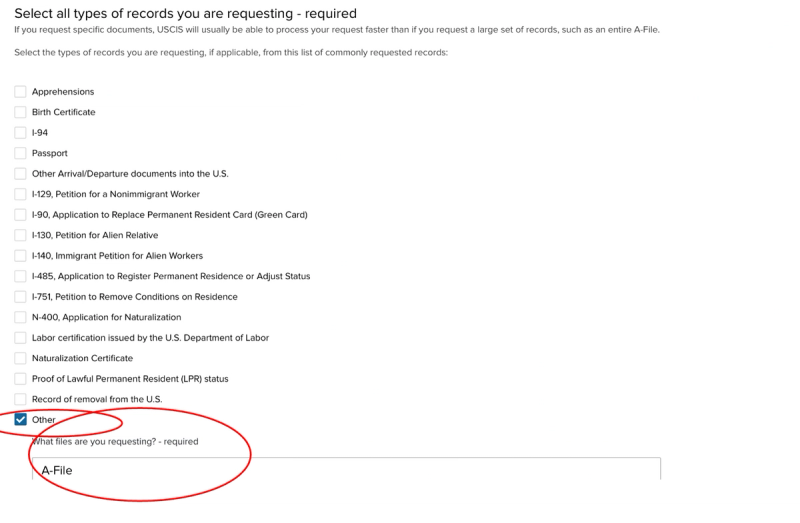
- In Select all records you are requesting you will see a list of documents with their form numbers. If you know which forms you need, click on them. Otherwise, click Other and type in entire A-File into the box that appears.
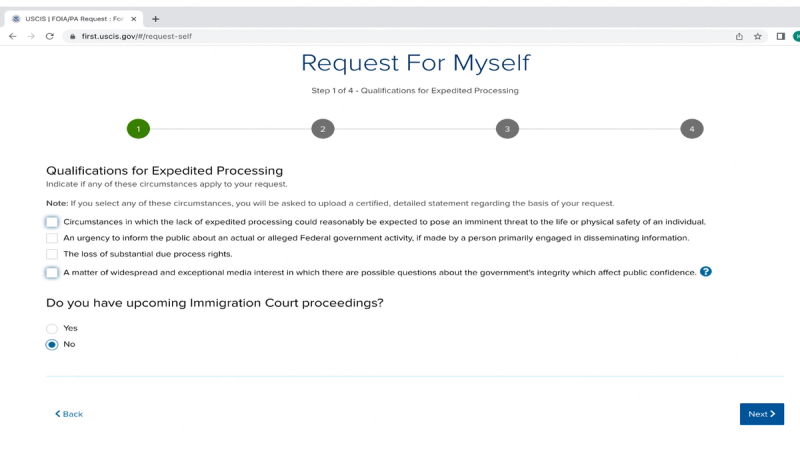
- Normally it takes several months to get records. There are two ways to get your records faster as an individual: First, you might meet one of the qualifications for expedited processing. The two categories of people who can request expedited processing are:
- You face an imminent threat to your life or physical safety.
- Check this box if you are about to be deported and you face harm in your home country
- You are at risk of the loss of substantial due process rights.
- Check this box if you are about to be deported and do not face harm
The other two boxes do not apply to individuals seeking their own records.
- Second you can get records faster if you have an upcoming hearing in Immigration Court. If you have already been ordered deported, this does not apply to you. Please see the section above if you have already been ordered deported.
If you think you have a court date coming up, select yes to Do you have upcoming Immigration Court proceedings.
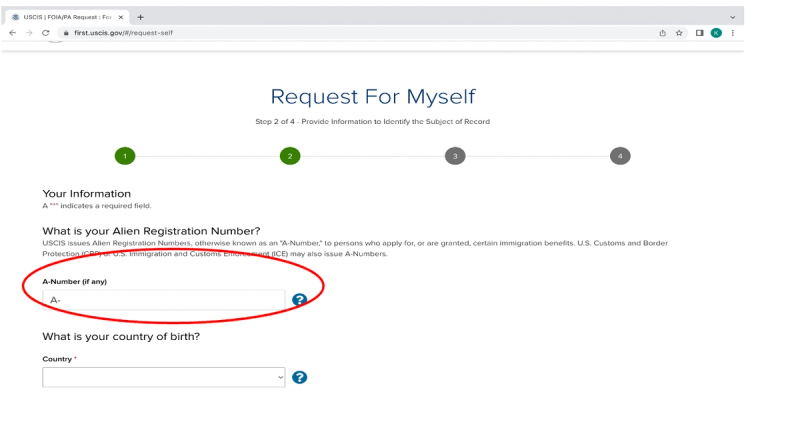
- Now you need to fill in some information about yourself. First, enter your Alien # also called an A# (available on any visa documents, LPR card, notices from agencies). If you do not have one, you do not have to fill this out. Then select your country of birth from the drop down.
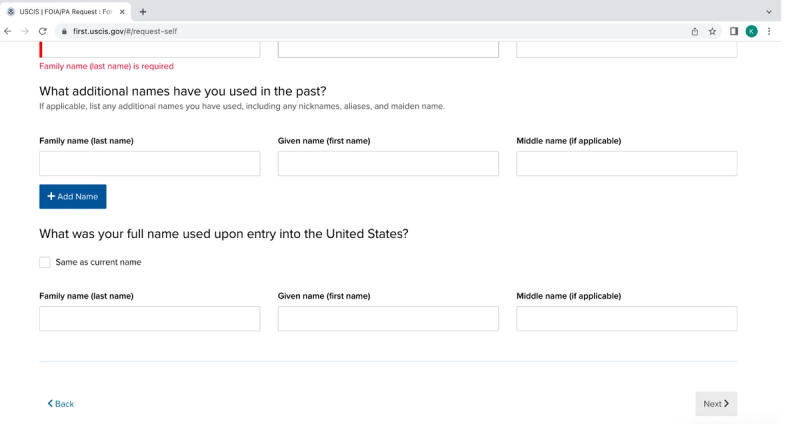
- Enter your full name or your name at the time that you entered the US. Add any other names that you have used or that you have given to the government.
- Enter your address, phone number, and email address that you used to create your account. Enter your mailing address in the section titled Contact Information. If you already have a mailing address registered with USCIS, you should input this. If you are a community organization submitting this request on behalf of someone else, you should provide the email, phone number, and mailing address of the organization.

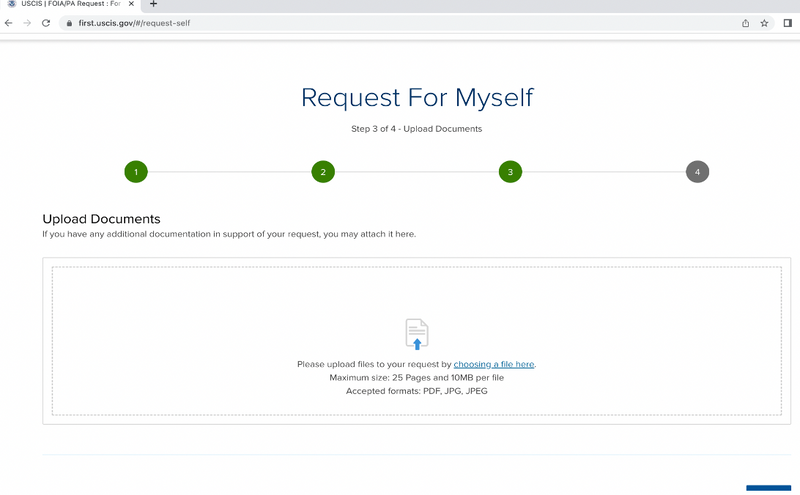
- If you do have some partial records-for example copies of any applications you made for asylum, a green card or other status) upload them here. It will help USCIS get you your entire record more quickly If you are a community organization helping a client, please ask for copies of any applications made for asylum, a green card or other status and upload them here. If you do not have any copies, you do not need to upload anything.
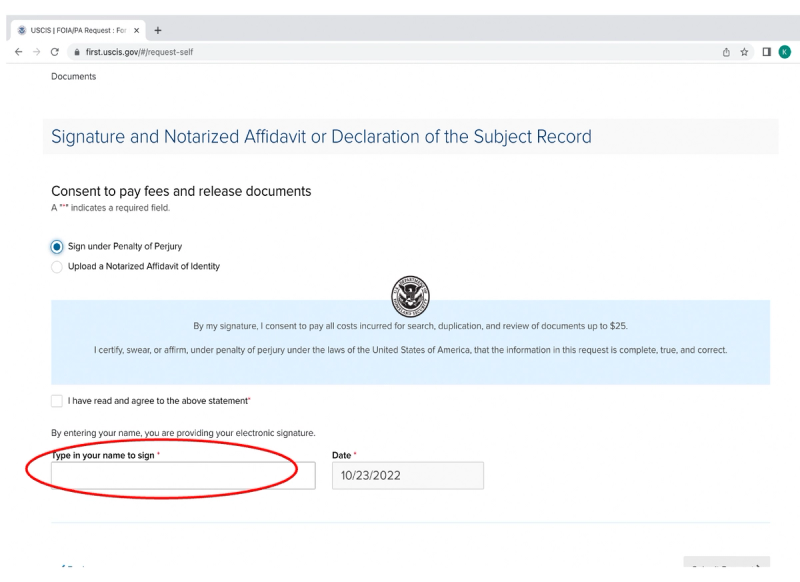
- Click Sign under Penalty of Perjury. Then type your name into the box. Click Submit, which is circled below.